 Curated in Louisville, KY
Make a Paper Bee!!
 Lil Keepers
 3 min read
 Posted 07.21.2017
This is a relatively simple project and certainly suitable for kids. As with anything it may take a few tries to get comfortable with the process. Don’t be afraid to go back a step or two and try again if needed. Every honey bee looks different and so does every paper bee! Have fun and if you, or someone in your hive makes a bee, post it on Instagram or Facebook and tag us. We’d love to see them!
Materials
- Paper – You’ll need a square, we used 5.5” x 5”5 inches for ours, cut from an 8.5” x 11” standard piece of paper. We used yellow card stock but your bee can be any color!
- Scissors
- Black Magic Marker – or whatever color you’d like
- Paper Clip
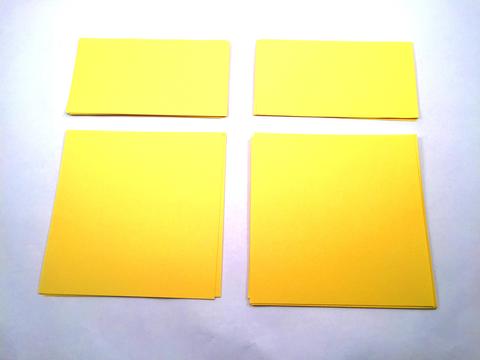
Step 1 – Cut your paper to size. We created two 5.5” squares from card stock. This will make 4 bees!
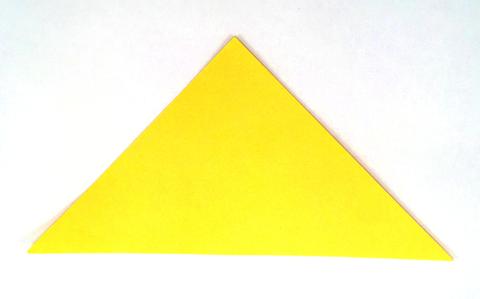
Step 2 – Cut your squares in half. Cut from one corner to the other making two triangles.
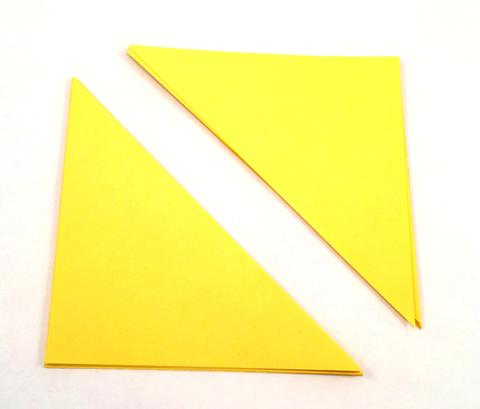
Step 3 – Orient your triangle as shown in the picture below. Before you start folding be sure to wash your hands. They may seem clean but when you start folding even just a little dirt will leave a smudge!
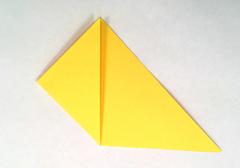
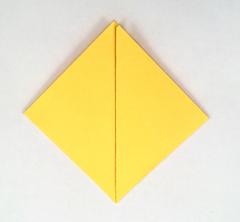
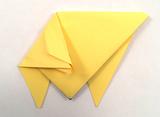
Step 4 – Fold the two lower corners up to the top point. You will create a diamond shape with a seam down the middle.
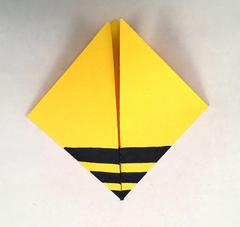
Step 5 – Now add some stripes to the bottom with your marker! Here is a tip, lift the two flaps and add some color under the stripes where the seam is located.
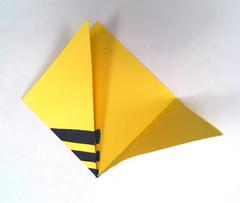
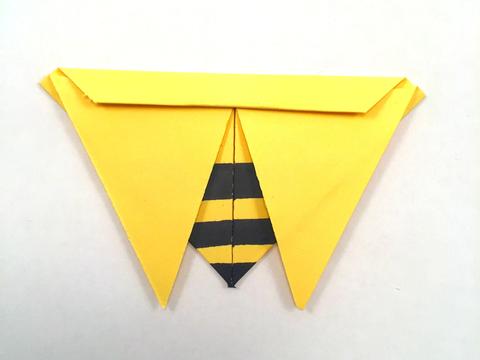
Step 6 – Fold the top of the flaps down to start the wings.

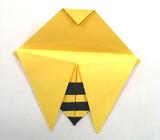
Step 7 – Create the head. Fold the top triangle down to create a horizontal seam that runs just above the wings. Unfold. Now you will make three equal horizontal folds starting at the top. The bottom of the last fold should line up with the seam you made with the first fold of this step.
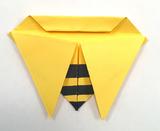
Step 8 – Finish the head! Make your final fold at the seam you made when first starting the head. It should just overlap the wings.
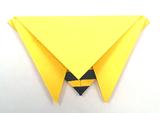
Step 9 – Now complete the wings. Fold the outermost points down behind the bee creating a triangle on each side.
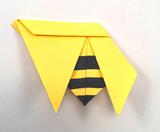
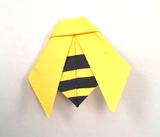
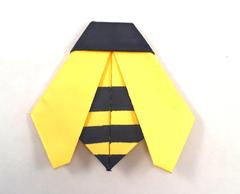
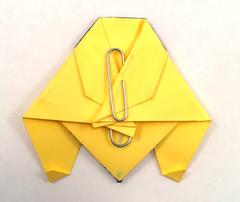
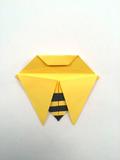
Step 10 – Almost there! Fold the tips of the wings back and color the head with your marker. We like to add a paper clip to the back to hold things flat. Congratulations! You’re now a keeper of a paper bee!